Contents (12 sections)
Table of Contents
- Understanding Realism in Portraits
- Gathering Your Materials
- Step 1: Preparing the Canvas
- Step 2: Laying the Foundation with Light Sketching
- Step 3: Developing Accurate Proportions
- Step 4: Shading Techniques for Depth
- Step 5: Refining Details for Lifelike Features
- Glossaire
- Checklist
- FAQ
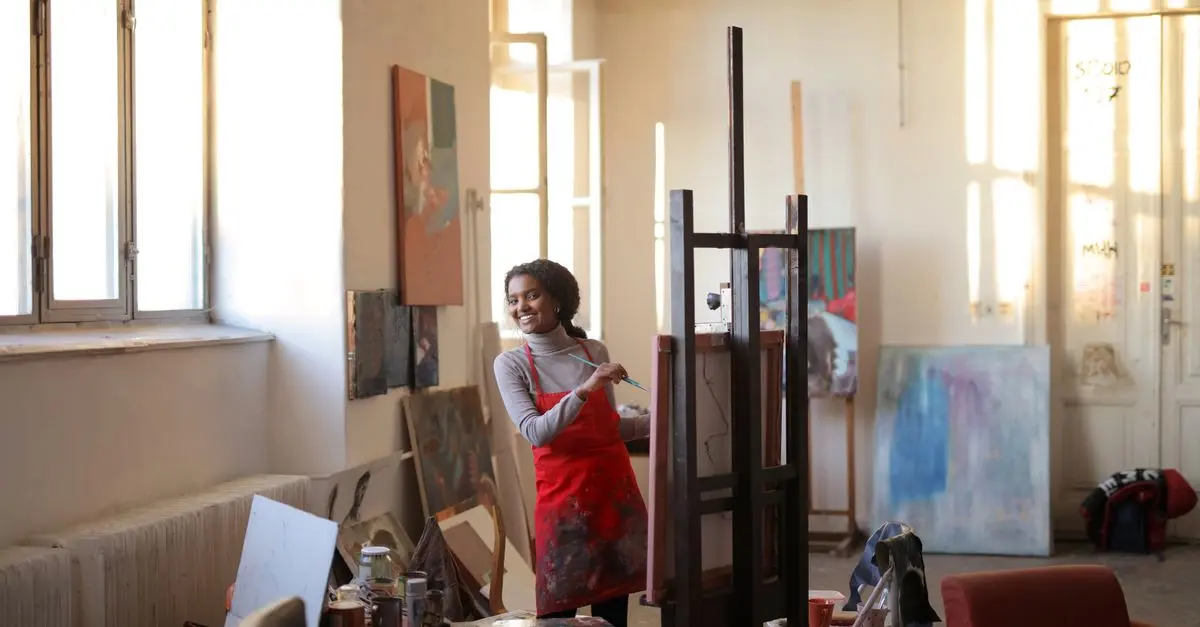
Understanding Realism in Portraits
Drawing realistic portraits involves capturing the true essence of the subject. Realism is not merely about imitating what you see; it's about seeing beyond the obvious to bring out the subtleties that convey emotion and character. Understanding proportions, anatomy, and lighting forms the backbone of realism in art. Techniques refined through centuries, from the Renaissance masters to contemporary artists, have centred on these fundamental principles to achieve verisimilitude.
A key aspect of drawing realistic portraits is mastering chiaroscuro, the use of light and shadow to give depth and structure to subjects in art. The real challenge lies in observing nuances—how light plays on skin, the subtle contours that define facial features, and the individual characteristics like expression lines that add authenticity.
💡 Avis d'expert : Mastering realism requires patience and a keen eye, according to John Smith, renowned portrait artist. "Realism is about understanding form and light, not just replicating what you see."
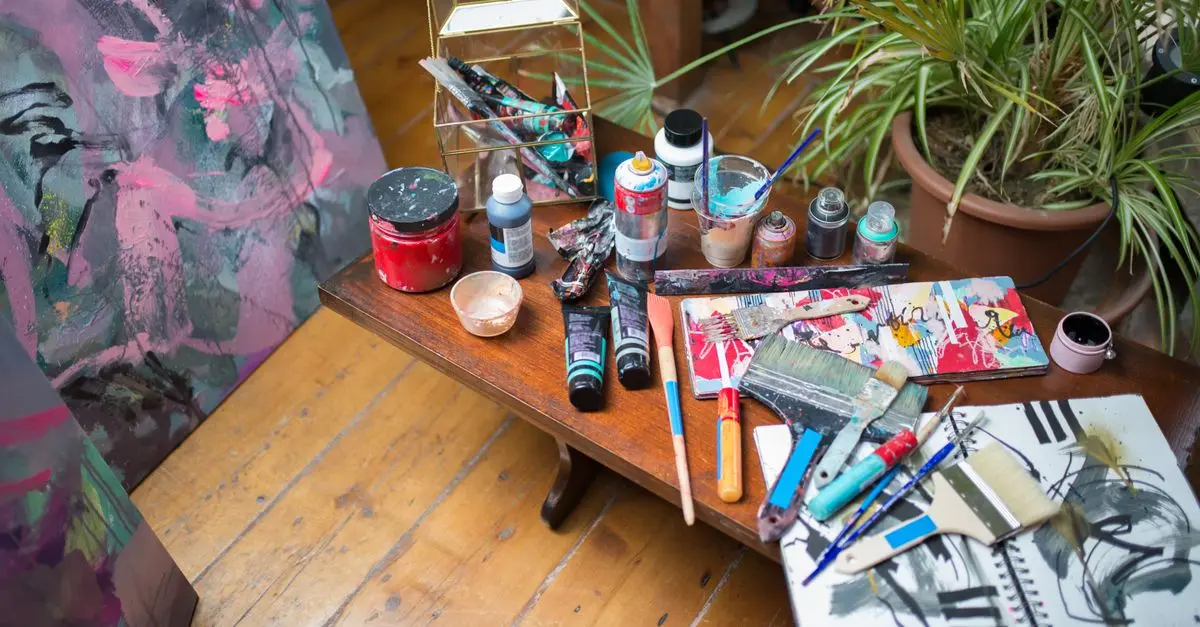
Gathering Your Materials
Before diving into drawing, gather the necessary tools. You'll need quality paper — ideal is smooth, acid-free paper for clean, erasable lines. Choose pencils ranging from 2H for light lines to 6B for shading depth. Essential tools also include a good eraser, blending stumps, and a reliable sharpener. For those looking to expand their tools, consider charcoal for expressive tones, or pastels for added colour realism.
Invest in a decent drawing board to keep your paper secure and at an angle that prevents distortion. According to UFC-Que Choisir, quality materials significantly impact the ease and final result of your artwork.
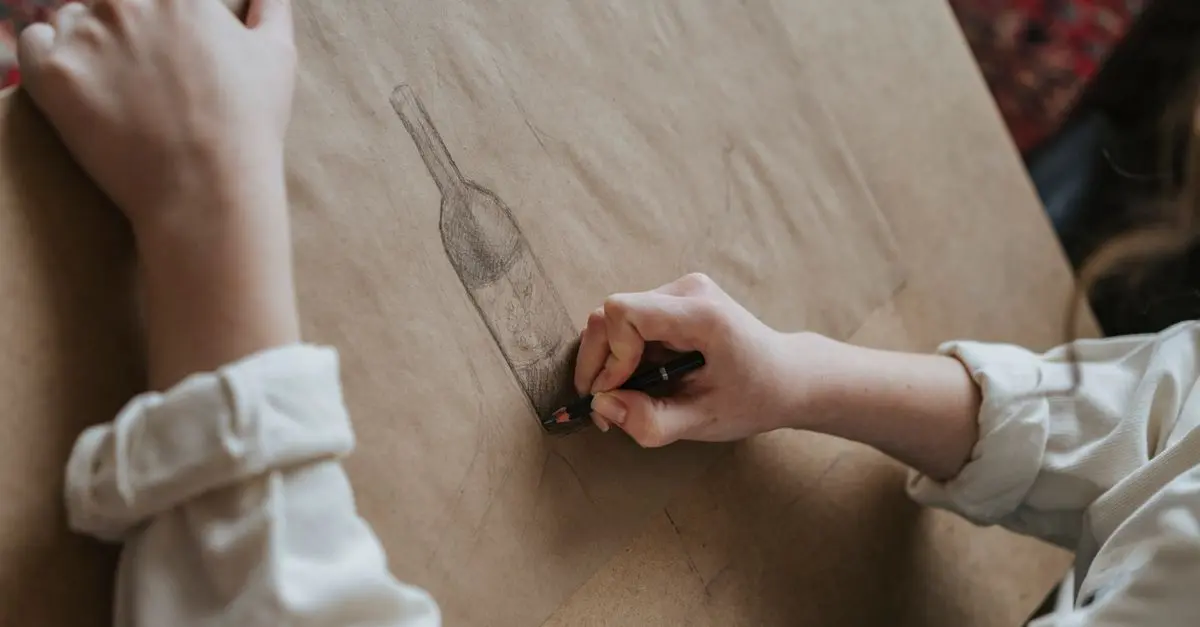
Step 1: Preparing the Canvas
Start with a clean sheet of paper, secured on a flat surface. Lightly sketch the outline of your portrait using an H or 2H pencil. This stage is crucial as it sets the stage for your entire artwork. Remember, this outline is not meant to detail but to provide a guide for proportions and placement.
Focus on the alignment of key elements like eyes, nose, and mouth. Ensure consistent spacing and symmetry, which will act as the framework upon which you'll build. An often overlooked aspect is maintaining an appropriate light source direction—establish this early to inform your shading choices.
Step 2: Laying the Foundation with Light Sketching
Develop the framework further by adding construction lines that will help with proportions. Use the 'thirds' technique to divide the face into equal sections: from the top of the head to the brow, the brow to the bottom of the nose, and the nose to the chin. This common method helps maintain balance and alignment.
This stage is about gentle, quick strokes that allow room for correction. Keep your pencil strokes light for easy adjustments. Set clear outlines for the hairline, jawline, and individual features. Avoid dark lines at this stage; the goal is flexibility.
Step 3: Developing Accurate Proportions
At this stage, commit to detail. Begin refining shapes around the eyes, nose, and mouth using measured lines. The eyes should sit halfway down the head, separated by one eye-width. Ensure the nose width aligns with the inner corners of the eyes and the mouth lines up with the pupils.
It's useful to step back routinely to view your work from a distance. This habit helps spot proportion errors early, preventing a disproportionate portrait. The Royal Academy of Arts suggests regular checks from a different perspective to improve accuracy.
Step 4: Shading Techniques for Depth
Shading is essential for realism. Start with the darkest tones using your 2B pencil, then gradually build up mid-tones. Use small, controlled strokes, applying light pressure initially. Shading requires patience: achieve smooth transitions by gradually layering graphite, as consistency brings realism.
Employ techniques like cross-hatching or stippling for texture. To perfect skin texture and avoid smudges, utilize blending stumps. These methods lend dimension and depth, captivating photorealistic impressions.
🧠 Quiz rapide : What is the essential tool for fine shading?
- A) Charcoal stick
- B) Kneaded eraser
- C) Blending stump
Réponse : C — The blending stump softens and smooths transitions between tones.
Step 5: Refining Details for Lifelike Features
The final step is about fine-tuning. Focus on the subtle intricacies: skin texture, reflection in the eyes, and tiny hairs. Use an eraser to lift highlights, adding sparkle and life. For realistic eyes, detail the subtle variations in iris patterns and ensure accurate light reflection.
Review the overall balance of your portrait. It’s crucial to keep refining until all elements sync harmoniously. As you near completion, the addition of minute details like freckles, pores, and stray hairs can markedly enhance the lifelike quality of your piece.
📺 Ressource Vidéo
> 📺 Pour aller plus loin : [Realistic Portrait Drawing Tutorial], a comprehensive breakdown of creating lifelike portraits. Recherchez sur YouTube : "realistic portrait drawing techniques step by step".
Glossaire
| Terme | Définition |
|---|---|
| Chiaroscuro | Use of light and shadow to create a three-dimensional effect. |
| Cross-hatching | Technique of using intersecting sets of parallel lines for shading. |
| Stippling | The art of creating intricate patterns using small dots. |
Checklist
- [ ] Select quality materials suited for realistic drawing
- [ ] Lightly sketch foundation with attention to proportions
- [ ] Develop detailed features with a focus on symmetry
- [ ] Apply shading using varied pencil grades
- [ ] Enhance drawing with highlights and textures
What materials do I need to draw realistic portraits?
You need quality paper, a range of pencils (2H to 6B), blending stumps, and erasers.
How do I improve my portrait drawing skills?
Practice regularly, study anatomy, and learn light manipulation techniques.
Why are proportions important in portrait drawing?
Proper proportions ensure a balanced, realistic representation of facial features.
What is the best way to add depth to my portraits?
Employ shading techniques like cross-hatching and stippling, focusing on light and shadow.